Dear James: I want to spruce up my house with an impressive new floor for the front door foyer. With three children, it needs to be durable. What is a good type of flooring to consider? — Nancy F.
Dear Nancy: Durable, stain-resistant slate is an excellent choice for an impressive appearance. It is an excellent flooring material for any foyer and can literally last a lifetime. You can mix and match a wide variety of colors, textures and shapes. Slate is even slip-resistant, which makes it great around children.
It's important to make sure the subflooring is strong and stable before even thinking of colors and patterns. If you have a weak floor, it may cause the slate to crack. Once you do go shopping for slate, you may be surprised. The cost is only slightly more than any other high-quality tile materials.
First, determine the general appearance you would like to achieve in your hallway and then choose your slate type. You can pick from an array of colors to match the interior decor of your home or mix the colors to add more character and personality.
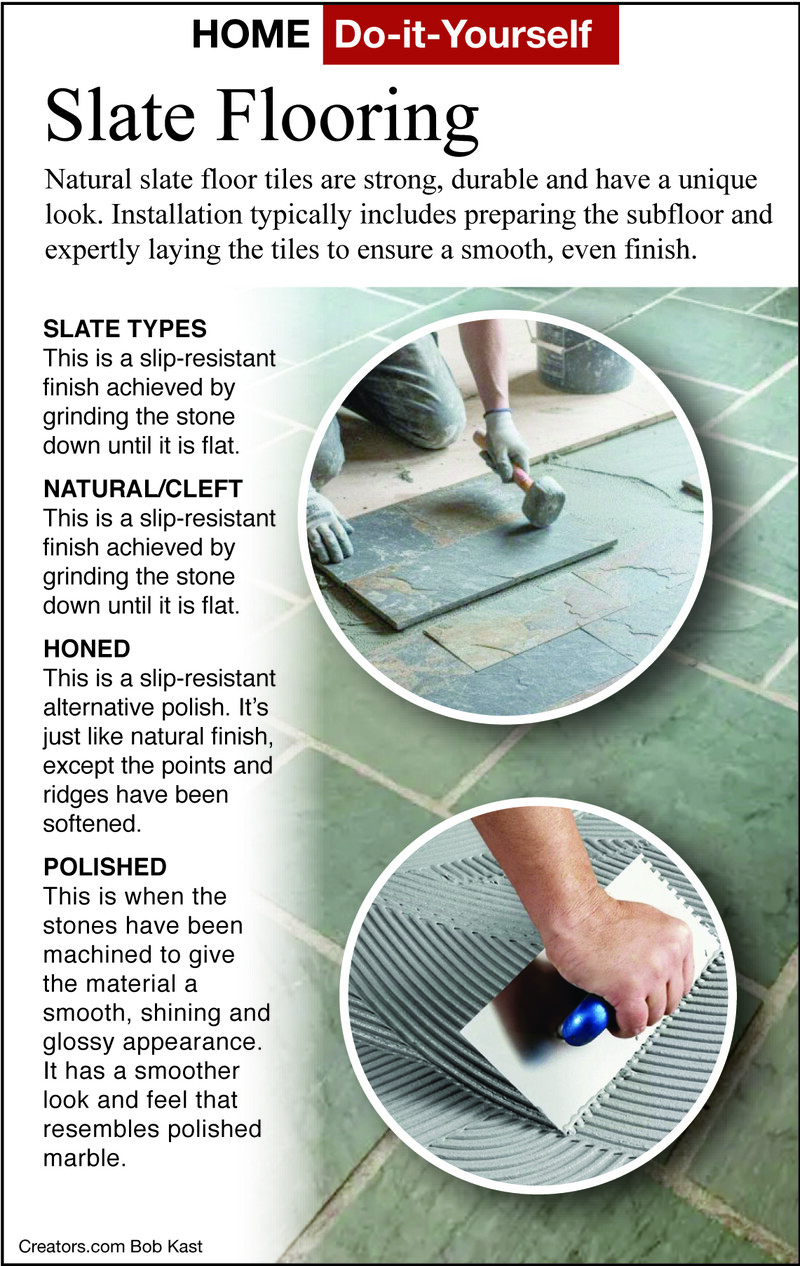
There are usually three slate textures used for floors. Slate with a natural cleft surface is slightly rough for slip resistance, and it is very easy to clean. The other textures are honed or sanded. Both of these have a smoother look and feel.
Square or rectangular pieces are the easiest to install yourself. For a unique appearance, you can also use various sized pieces to form a random pattern. Because of rough surface texture, installing slate yourself can be a little trickier than uniform ceramic tiles. Even small errors in spacing of the slate pieces will be obvious when the gaps are filled with grout.
If you are installing slate on top of a wood subfloor, be sure to first install cementitious boards for a stable, rigid base. Use a layer of mortar between the floor and the cementitious board and carefully follow the manufacturer's nail pattern recommendations.
If this is your first time laying a slate floor, you should begin by laying the pieces down and positioning them how you would like them to be permanently. You will probably find you will have to cut a few pieces for an attractive fit. To do this, use a hacksaw or a wet diamond saw.
Once all of the pieces are cut to fit, remove them, making sure to keep them in order. Use thinset mortar again to replace the tiles on the floor. Clean off any of the mortar from the slate.
The next step is to grout the slate tiles. Because slate has rough surface, it is more difficult to clean off than when laying smooth tile. You will need to use a lot of elbow grease to scrub off the excess mortar. Use a dry sponge when grouting slate, as a wet sponge may discolor and dilute the grout.
To clean your new slate floor, use a synthetic sealer instead of wax for the best stain resistance and long-lasting color.


View Comments